|
|
Post by Mastercaster on Jan 7, 2018 21:58:45 GMT -7
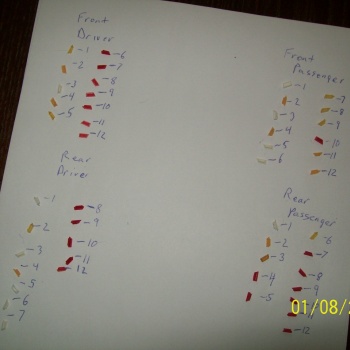 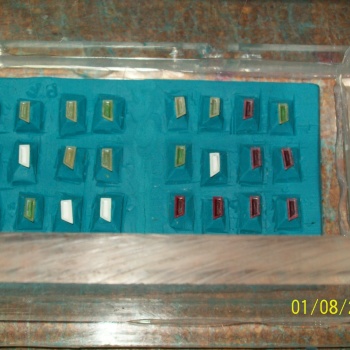 I found several of these in a bag and made a few from an old mold too. The mold will make 15 each. It only takes a good drop of resin to make one. These are tiny like a photo etch part. If you drop it, good luck finding it. 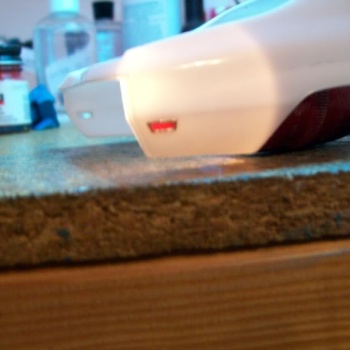 Here is a photo from a few years ago. This one is installed and backlit with a small flashlight. I covered it with BMF and cut out the opening. It was pretty easy to do. |
|
|
|
Post by Mastercaster on Jan 8, 2018 22:17:21 GMT -7
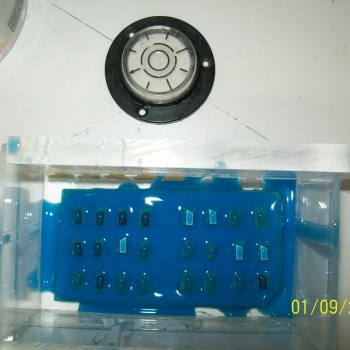 OK....Now that the silicone holding the mold box sides together has cured, I trim out the excess as best I can. These two silicones are not compatible. The blue stuff gets goopy where it touches the other. So...I use GE SILICONE II to make the mold box. Next, I mixed up ten milliliters of silicone and poured it over the parts and let it set for awhile. Doing this will keep the small parts from floating away or falling off and getting lost in the silicone. I use a bulls eye level to make certain the mold is level. I used a square board. I Drilled holes in each corner and put a bolt with a nut and washer on it. Put the nut on first, then set the washer on it. I silicone the washer and nut to the under side of the board just so if I pick it up it won't all fall apart. If you can apply some silicone grease to the bolt threads it will ease it's use. I like to keep a mold as level as possible as the liquid will seek it own level. If while making your mold you set it in a different rotation when you pour side two it may not cure level and some silicone may pour over it's edge. This is important to note.  Now this is the lights that do the back end of the car. It is hard to tell but there is a clear sheet of plastic setting on top of the lights that have been mounted on the clay stands. This will help keep them all level and with a little push will help set them a bit in the clay. Easy does it! 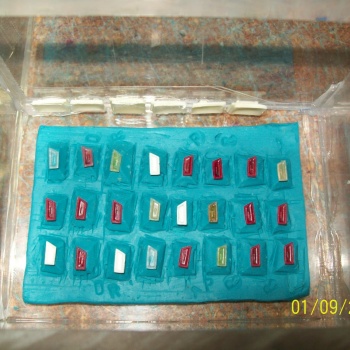 I took my metal stamp set and marked them DR and PR just so when I am removing the cast part I won't get too lost in what I am doing. The ones in the first mold arte marked DF and PF. Tomorrow night I will pour silicone again in them. |
|
|
|
Post by Mastercaster on Jan 10, 2018 20:41:49 GMT -7
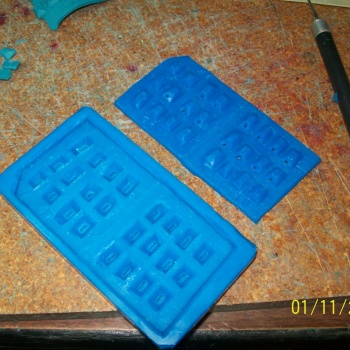 Mold has been opened and master parts removed. I made vent holes in the top for each light.  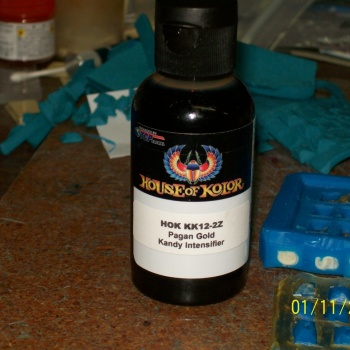 Here is the first set made. I Ordered a fresh bottle of HOK Pagan Gold Kandy dye to make these front marker lights with. I like the color of these but may not be a accurate color of the real car. Any Thoughts? I will make sets out of some amber color. |
|
|
|
Post by Mastercaster on Jan 12, 2018 10:53:47 GMT -7
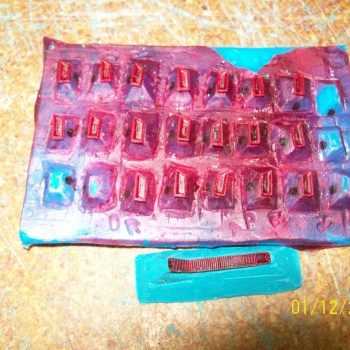  I made these out of HOK Kandy apple red. Here is a clayed up tail light to compare to. A left click on the photo with your mouse will make it bigger. |
|
|
|
Post by Mastercaster on Jan 15, 2018 22:23:04 GMT -7
 And here is what the marker lights look like installed on a GS/Skylark body. You will need to left click on the photo with your mouse to make it bigger. |
|