|
|
Post by Mastercaster on Dec 28, 2016 17:19:10 GMT -7
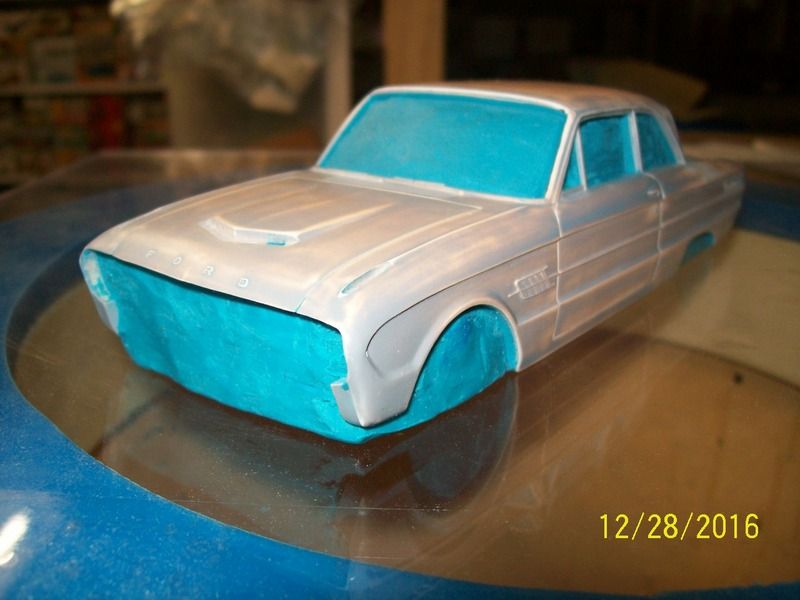 PN# HGR1007B 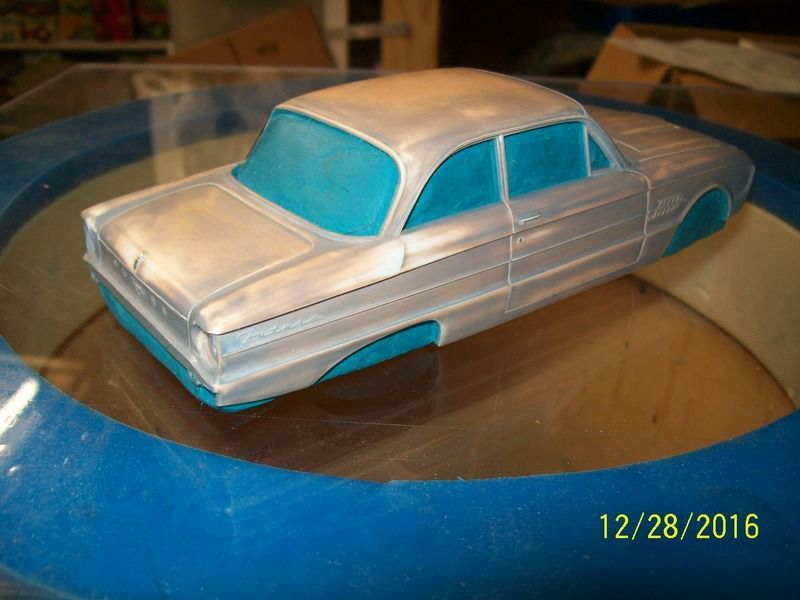 Here is a mostly clayed up 62 Ford Futura body. It has the hood molded in. The front end is going to be used to create another version. |
|
|
|
Post by Mastercaster on Jan 4, 2017 1:24:17 GMT -7
|
|
|
|
Post by Mastercaster on Jan 4, 2017 12:06:23 GMT -7
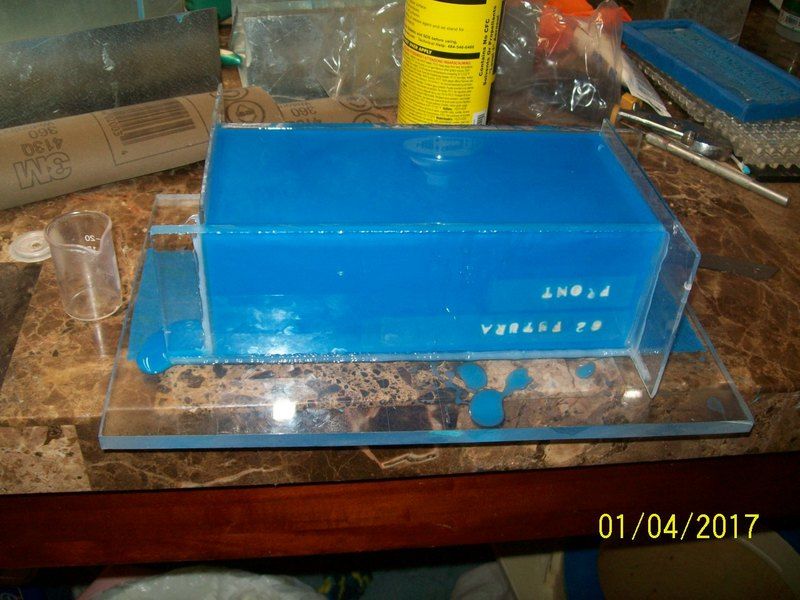 Here is the mold box ready to be opened. Make certain the silicone is firm when pushed on to make certain it is cured fully. I failed to remove the silicone I use to seal the mold box that will exist in the inner part of the box where the sides and bottom are joined. I use clear GE SILICONE II 2.8 ounce tubes. If you use the clear it will take a lot longer for the silicone to cure before you can pour the moldmaking liquid silicone in the form. I use the blue SMOOTH - ON MOLD STAR 30. 30 is the durometer, it is a platinum silicone. It has a long library life. When the GE silicone and the mold star touch the silicones will not cure but will be sticky. You will find them to be really goopy. I usually attempt to reach a stirring stick in the corners to break away the GE and remove it with long tweezers. 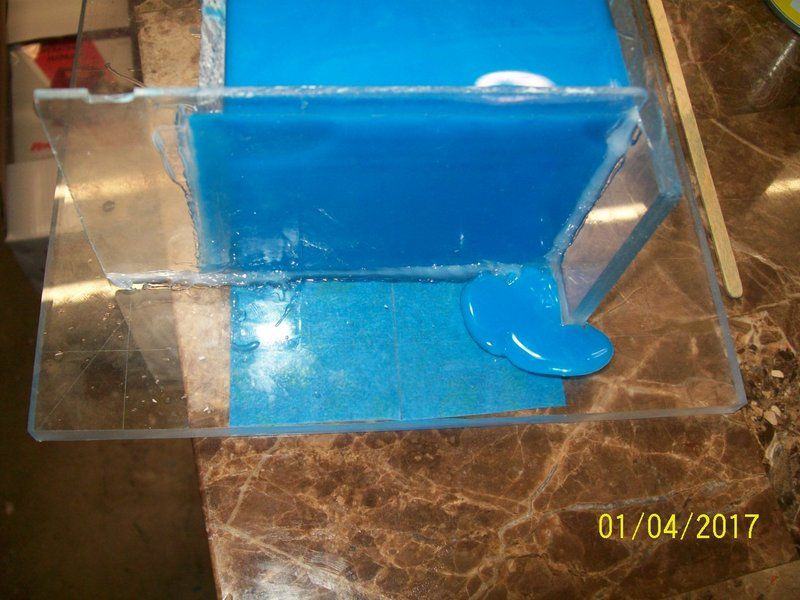 Sealing the mold box can still have tiny leaks. 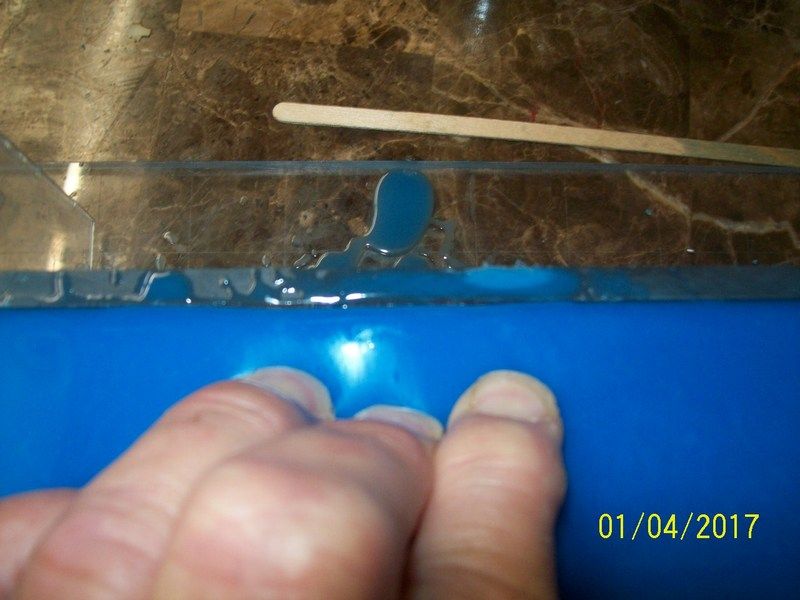 The first thing you do upon breaking the mold box open is to push the silicone down with your finger tips or a putty knife to break the edge of the silicone free from the box. 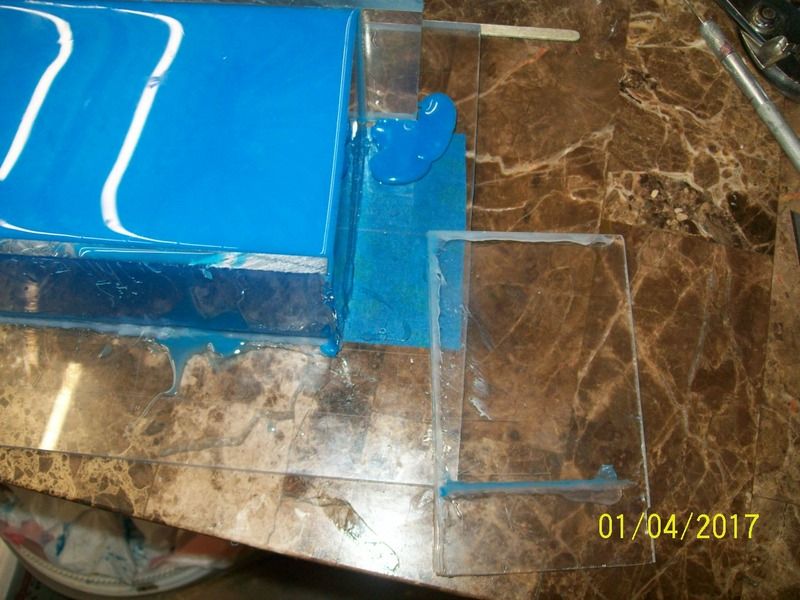 The sides should peel away pretty easily. I use toilet paper and denatured alcohol to remove the silicone from the mold box parts. Clean these parts and then set them aside for their next use. 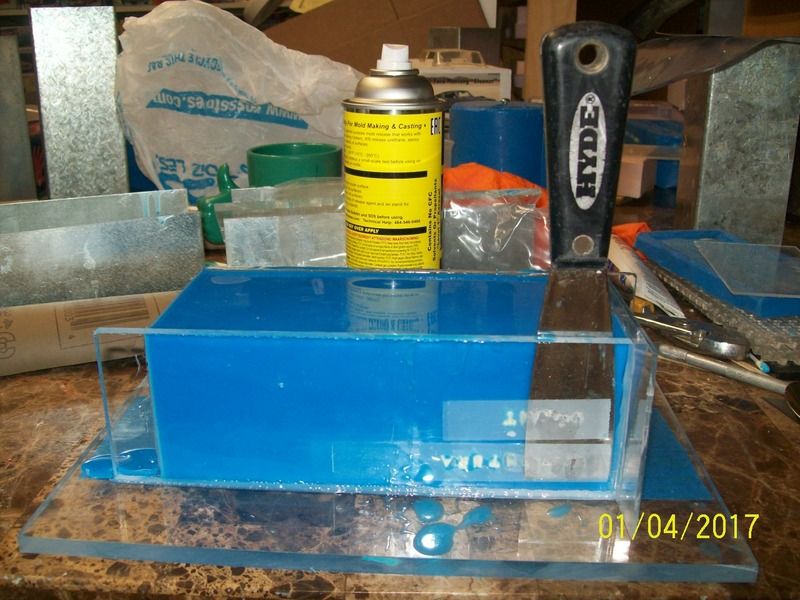 On the side I mount the letters are, on I carefully force a putty knife down to break them away from the mold box part. I apply two layers of scotch tape and then use CA glue to glue them on. It will be important to mark the mold if it is front end or rear. This will be important if you are in a hurry or not focused. How you de mold your part will be important. Done wrong, you might break the body. 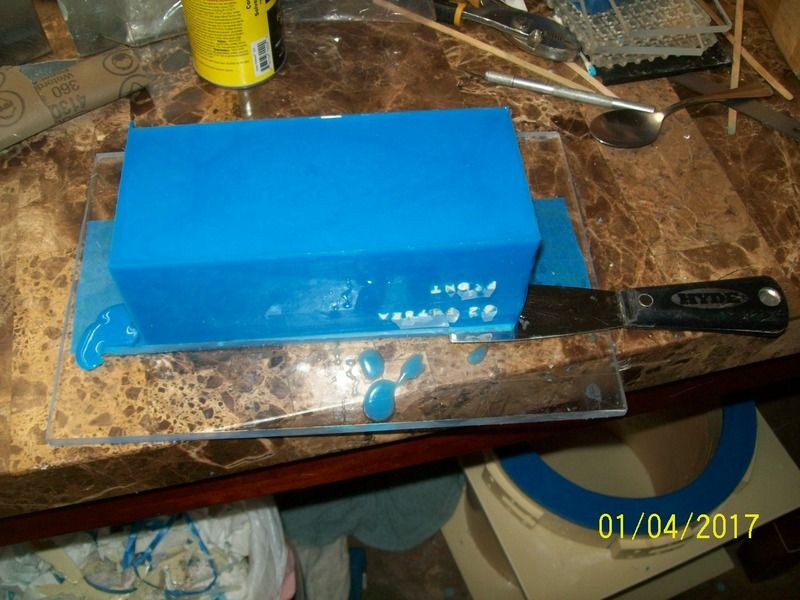 Carefully slide the putty knife under the edges of your mold to break it away. DO NOT FORCE IT AWAY OR TWIST IT TO REMOVE IT. 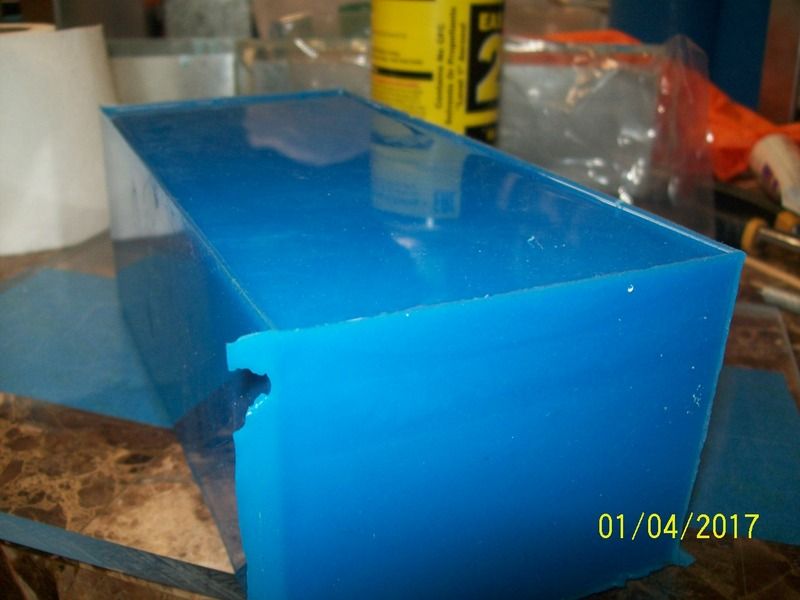 The silicone on the molds edges need to be trimmed away so it can lay flat and the sticky stuff needs removed. If it cannot be cut away try to clean it away with toilet paper and alcohol. 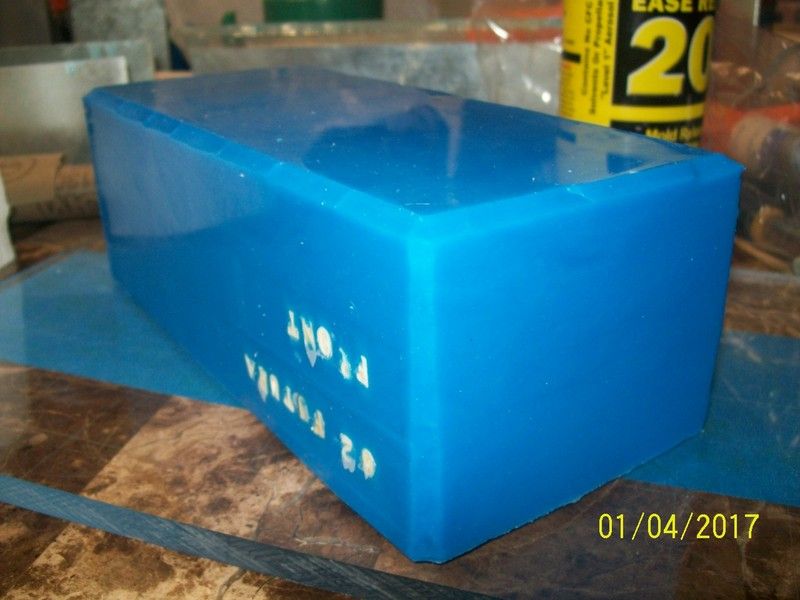 Silicone is trimmed away. |
|
|
|
Post by Mastercaster on Jan 4, 2017 17:47:37 GMT -7
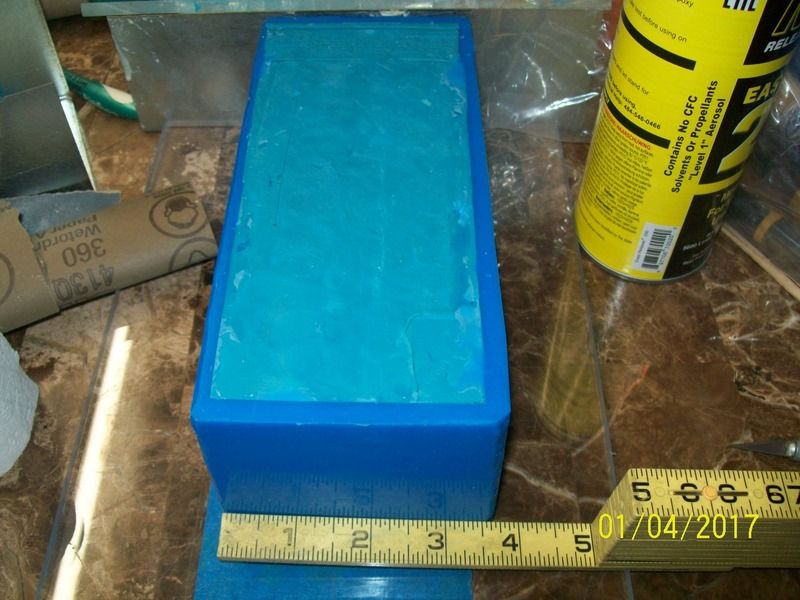 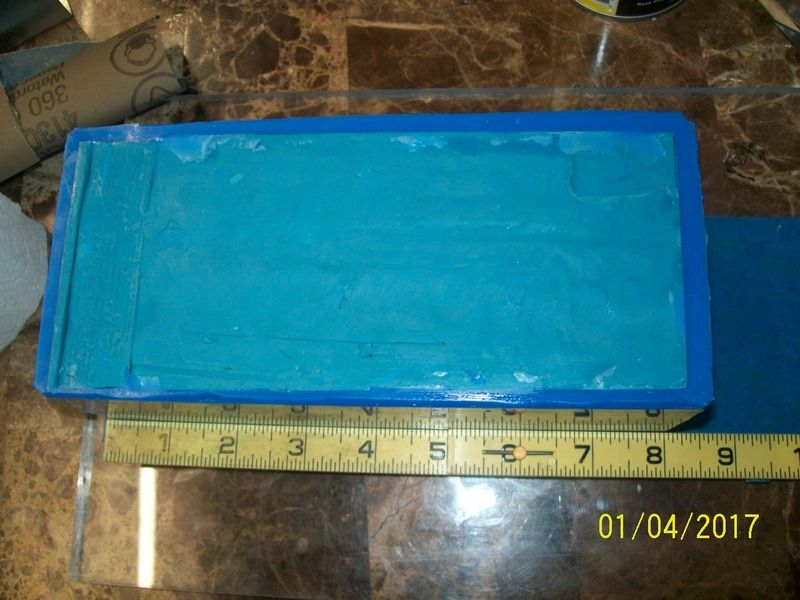 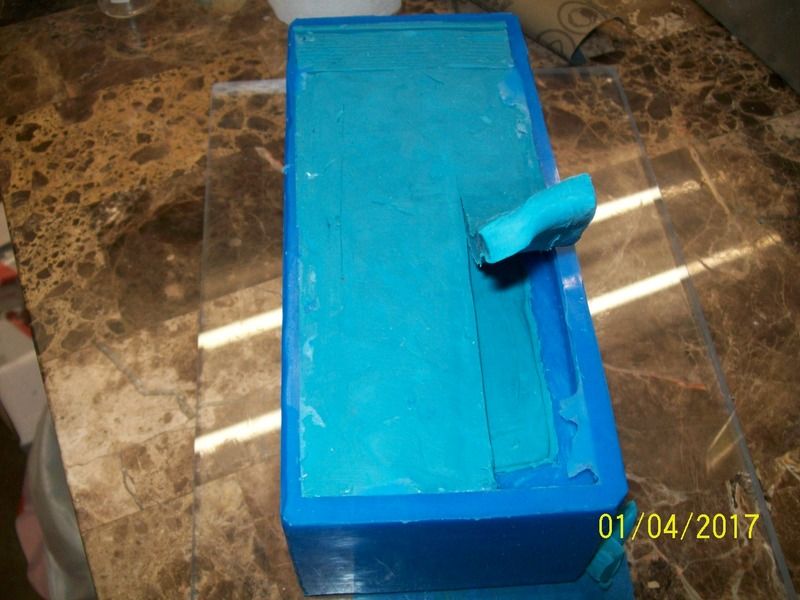 Now it's time to turn the mold over and start removing the clay filling. This operation is critical and takes careful handling. I leave it firmly placed on the table. Then I carefully start at one corner to remove the 3/8 inch thick clay base. 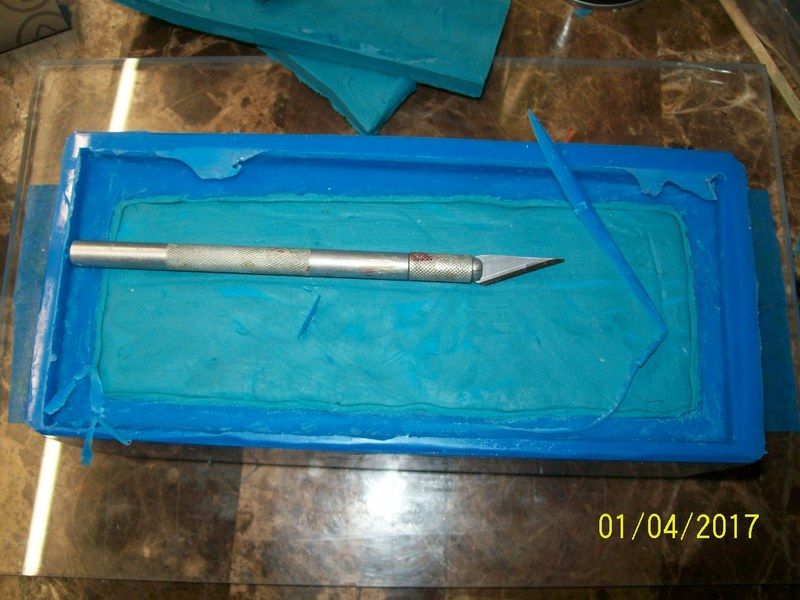 Once the base layer has been removed, I take a fresh knife blade and trim the silicone flash away. Be gentle. If you happen to drop your mold, it might cause your master body to break. If you have scratch built something, it could be bad news! 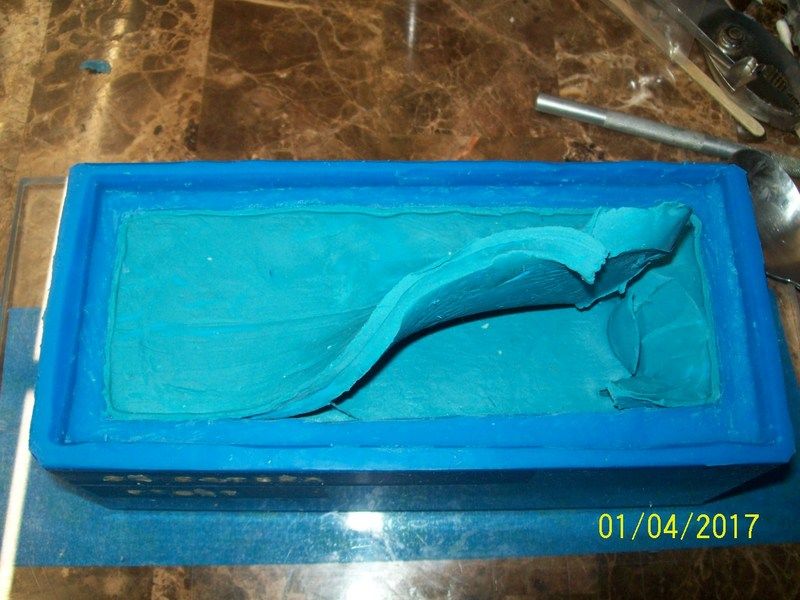 Be very careful to remove the next layer. You will want to firmly grasp the mold so that the sides of the fresh silicone don't get pulled away from the master body. This will break the seal the silicone has on it's surface. The silicone that forms the inside will sneak around the 1st part and create a ghost layer between the master and the outside part of the mold. After two or three resin pulls it will remove somewhat easily with tweezers and great care. 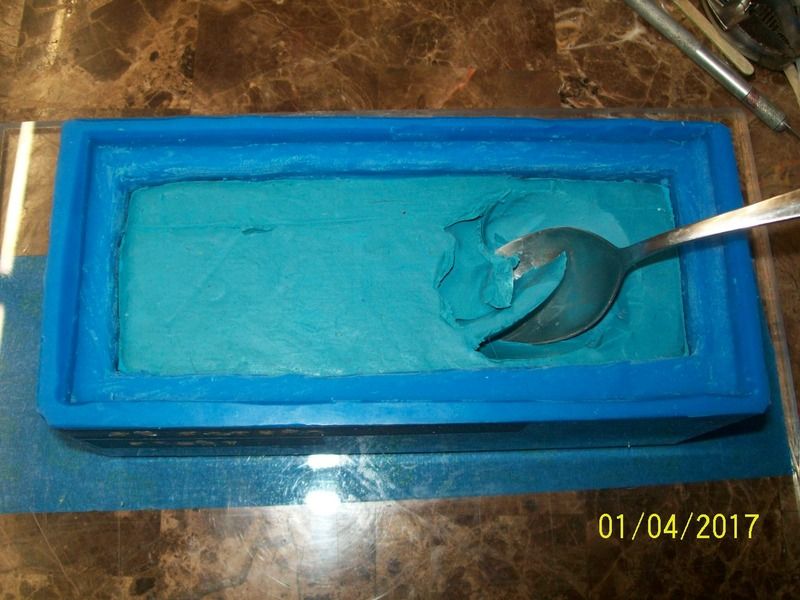 Now you are doing serious work. Working from a photo might be helpful if you are new to this. Start digging a trench in the center. Removing clay from the ends won't be a easy task. Taking care not to push too hard you might break a glue joint or do other damage. I have thought about laying narrow strips of fabric in and laying clay on them. Once you get ahold of both ends it might make this clay removal really easy and clean. 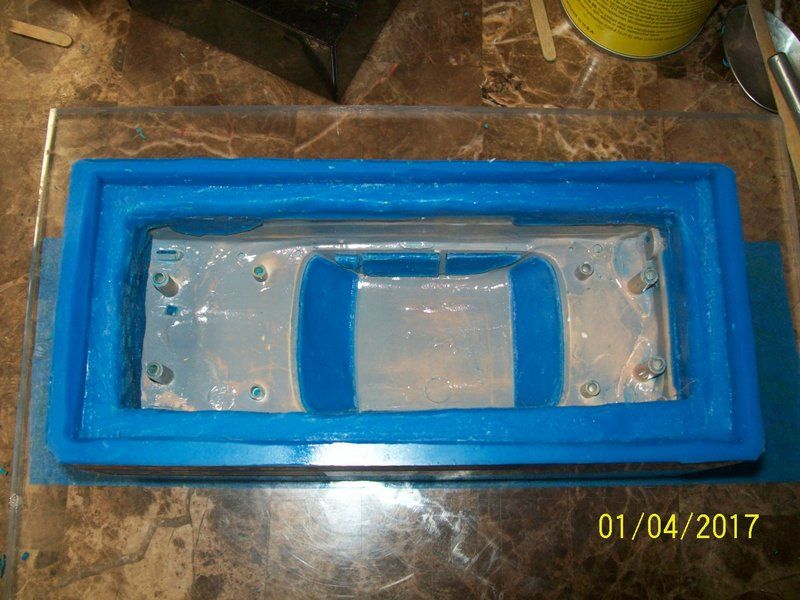 Once you have sweat through that process without any problems, take some Q tips or whatever you have to remove all bits of clay and wipe the interior down. There might be areas that have round holes where bumper attach or taillight openings. Trim those off so they are even with the bodies interior surface. Use a good quality mold release spray. I use Mann 200. Do not use some kind of homemade witches brew to make a mold release. This is not the time to be a cheap ass!. OH! And while you are doing this or any kind of resin casting DO NOT have foods around your projects. Food oils will kill your project. Being successful and having confidence that you can do this is important. There are plenty of other aspects of resin casting that can go wrong besides this too. I am here because of my experience of about 11 years of goofing around with this stuff. If my casting items can be Modelhaus quality you can achieve that too. You need the space and equipment to do this. It won't be cheap. |
|
|
|
Post by Mastercaster on Jan 5, 2017 13:31:24 GMT -7
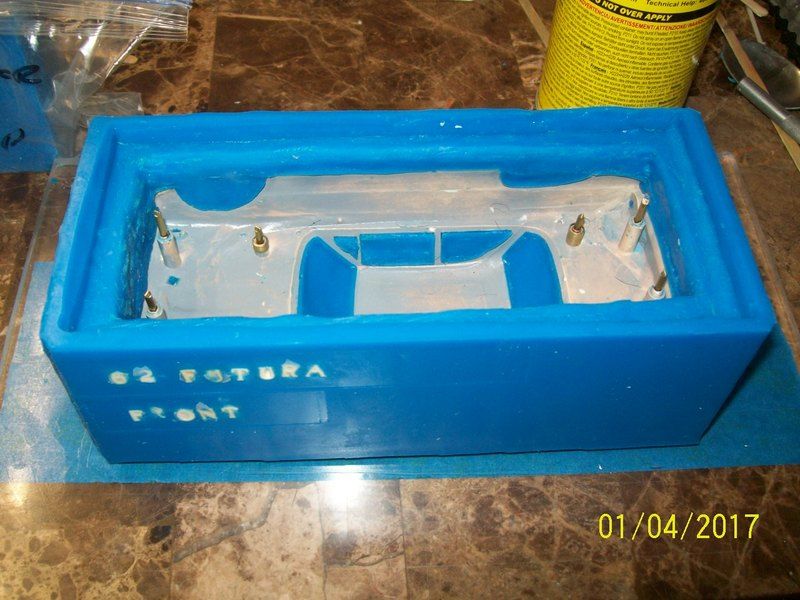 My next step is to insert brass rod into the holes for mounting points. On this project a couple of the round stubs broke and I added tubing to the outside of this part to. On some subjects this plain rod can be removed threaded stub can be put in it's place. That way your new part will have a thread formed in your new resin part. I purchased several sizes of K&S brass tubing and rod for this work. 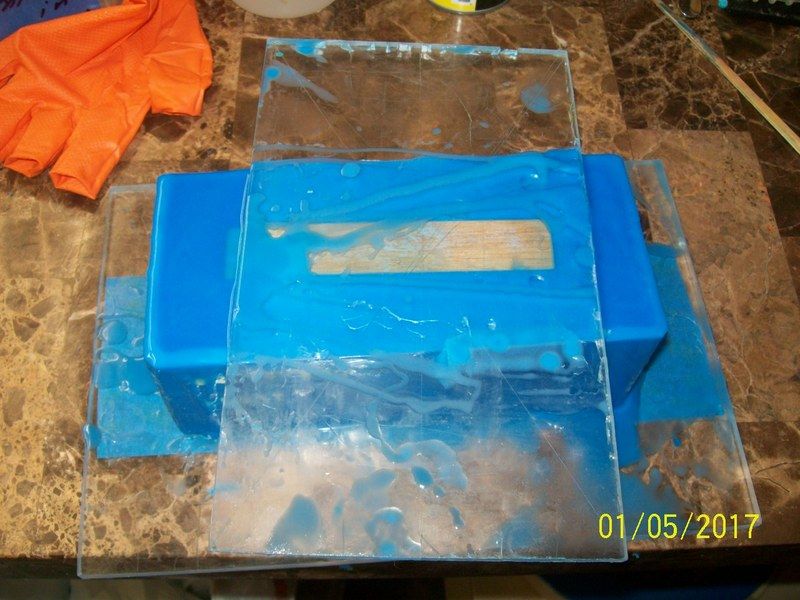 I poured in the silicone and added this piece of bass wood. The wood part creates a empty spot once pulled out. This void allows me to fold the mold in a bit to make it easier to remove the new part. DANG!! I forgot to put the dimples in the wheel openings and window glass like in the Eleanor Fastback mold! |
|
|
|
Post by Mastercaster on Jan 10, 2017 16:43:30 GMT -7
|
|
|
|
Post by superstock on Mar 15, 2017 7:27:34 GMT -7
just found out from another message that the monogram 1966 mustang is a good donor kit for this..chassis,floor pan,seats,fire wall an core support..superstock |
|
|
|
Post by Mastercaster on Mar 15, 2017 7:49:21 GMT -7
Hi Superstock,
That is good information.
|
|
|
|
Post by superstock on Mar 15, 2017 7:52:44 GMT -7
good to hear from you greg..have not seen you on here for a while...superstock
|
|
|
|
Post by Excrewchief on Mar 17, 2017 2:01:07 GMT -7
You need to hurry up I want one of these my self
|
|
|
|
Post by dimaxion on May 7, 2017 12:23:50 GMT -7
Excellent casting . I have a R&R , your body needs no work . If you are selling a kit , would you sell a back window to me . s I stated , I have a R&R .. Will this have thew Bucket Seat interior like the original Futura ? The top is an early (pre - 1962 1/2) Futura . The T-Bird Roof was the '62 1/2 Springtime Edition .. Thanx ..
|
|
|
|
Post by Maindrian Pace on May 16, 2017 8:49:30 GMT -7
This body was cast mainly to donate the front clip to an upcoming '62-'63 Ranchero project, as well as a potential 2dr wagon. I did make a few corrective changes to the body, mainly around the taillights and rear panel where AMT got it close, but not quite right. I have the rest of the kit at home, which can be cast if Greg and Rocky decide that they want to offer it as a kit. They have a lot on their plate right now, so time will tell. The glass would have to be vacuformed, so they would have to make a resin buck for that, and chrome parts for other kits has been discussed. Lots of cool stuff coming down the pike.
|
|
|
|
Post by Excrewchief on May 24, 2017 11:03:09 GMT -7
Are the lights and emblems the biggest holdup right now. I am betting they are .
|
|
|
|
Post by Mastercaster on Jun 30, 2017 21:36:06 GMT -7
|
|
|
|
Post by dimaxion on Jul 3, 2017 11:57:14 GMT -7
Getting close . I'm back BTW .. Thanx ..
|
|
|
|
Post by Lazaro on Jun 4, 2021 5:28:13 GMT -7
about wedding veils
Hi i am kavin, its my first occasion to commenting anywhere, when i read this paragraph i thought i could also
make comment due to this brilliant article.
|
|
|
|
Post by Demetrius on Jun 4, 2021 22:30:52 GMT -7
about Buy Wedding Dress for Bride
Hey! Do you know if they make any plugins to help
with Search Engine Optimization? I'm trying to get
my blog to rank for some targeted keywords but I'm not
seeing very good success. If you know of any please share.
Appreciate it!
|
|
|
|
Post by dimaxion on Dec 7, 2021 12:32:11 GMT -7
Photobucket Images are removed . Thanx
|
|